Docker Rating
- Difficulty of Project: Intermediate if you're comfortable on the command prompt
- Cost: Free!
- Recommendation skill level: Intermediate
- Time commitment: 1-2 hours
Kubernetes Rating
- Difficulty of Project: Intermediate
- Cost: Free!
- Recommendation skill level: Intermediate
- Time commitment: 1-2 hours
Skills and assumed supplies
- A Server
- Internet
- Familiarity with the command prompt
NOTE: Need a refresh? Check out my YouTube playlist on how to use the Command Prompt
Why you want to have Virtualization on your server
Adding virtualization to your server can both open up the possibilities of what you can include, and make it easier to manage your server overall. By adding things like Docker and Kubernetes to your server you can follow recipes on how to add a lot of the newer projects instead of the older way of working with things that needed lots of installs and had issues with errors. If you aren't sure what virtualization is in general, please look thorough my materials on Virtualization where I talk about what virtualization is in general and some of the variety of options. Using containers as part of our virtualization options is great for making sure the things we are working on are both safer and smaller. A container can make it so you have almost walls between the things you're working on, and also share resources. So you can think of the container ships, they are all going across the water together, sharing a ship (resources) but they each have their own container with walls so you don't need to worry about the things in the containers mixing, getting messy, or getting in each others way. More information on containers can be found in my Linux Administration course Here including examples and some really helpful tutoials.
If you're not familiar with using the command prompt for Linux, or you've never used it before, I recommend a refresher. One option, you could take a class like Introduction to Linux which will cover all the basics you need and also go beyond that into time saving extras like scripting. If you want a quick refresher you can do at home, consider watching my Intro to Linux Playlist and my Linux FAQ Playlist where you'll see the general concepts of Linux and demos of how to use them. In particular I recommend watching the Command Line Basics and Common Commands and Paths videos.
New to Linux and nervous?
If you're not sure where to start, I recommend starting with Docker. It's really common in lots of projects to have instructions on how to do things "The Docker Way" so if you're interested in projects I haven't covered, you're more likely to find Docker instructions then Kubernetes instructions.
What is Docker?
Docker is an open source tool that allows us to have a consistent way to be able to run applications. It is considered isolated and it allows us to share resources. This means in terms of containers that we are able to have more containers on a single piece of hardware then we could have say for example virtual machines. Docker is technically open source, however that has been changing in recent years and they are starting to have some closed source options, so it is worth being careful of what you are installing what you are downloading and exactly how you're using it. For the uses that we are talking about it shouldn't be a problem, but if you continue to use it say at a job, you might see that you're going to need to start paying for some of it and some of it is going to be closed source.
One of the things that makes containerization and Docker really nice is that everything is considered encapsulated. That means we are able to keep the things that we are working on in their own areas and we can also share our container with others. So let's say for example I have a server, and I have a piece of software that I've put together that I think other people would love, if I create a container of this software I can easily share that exact container image with other people so that they don't have to do extra steps for the setup, the only thing they have to do is set up the place where their containers go and then give the instructions that I would give them on my container set up and the location of the container so they can basically just make a photocopy of it. Now Docker is considered container software, it stores code and the dependencies which means that it can actually run a little bit faster than if we had for example a dedicated virtual machine for this particular application. The docker engine can take the place of the guest operating systems on the machine so rather than having let's say five virtual machines with five operating systems, what we can have instead is the docker engine on top of a host operating system and then we are able to save all of that space that those operating systems would have taken, which is covered more in depth in the docker docs and includes images.
Technically there are two pieces of docker, which are the docker desktop and the docker engine. Know here the docker desktop has recently come out for Windows and MacOS, and this is part of where the closed source software is, and this is part of how Docker has decided to make some money is by making corporations pay for usage so if you have too many things happening or sort of enterprise level usage they would like money, because people like money. Docker images are going to be how we are saying what's in the container so if we think of the container like a box, a Docker image is saying what's in the box, the docker container is the executable instance of our image, so it's a way of being able to say, hey I would like to actually make that copy not just think about maybe possibly making a copy at some point. Docker daemon is a background application that will take care of all of our images and containers. Docker client is the command line interface that will talk to the docker daemon. The docker registries are going to be where we're going to actually save these copies of our boxes and containers and where we can also more easily share copies of these boxes and containers.
Docker engine vs Docker desktop?
Docker engine is something that we run on linux. The engine allows us to actually create and run the pieces of Docker so that we can create these containers. So we think of the box that we want to share with people that has our cool idea in it, the docker engine will allow us to assemble the box so that it can more easily be shared with other people and this particular way of putting together the boxes is available on linux. The docker desktop is a way of being able to interact with this builder for other systems besides linux, and also happens to include a graphical user interface(GUI). One of the things that you'll find really commonly with linux, is most things are done on the command line once you get to a certain level because trying to build a graphical user interface(GUI) for all of the tools and scripts that you want to do is not something a lot of people want to volunteer for when it's easier to keep it text based it will also make the things that you're building smaller and easier to put together and easier to update. The learning curve for command line can be a little rough but once you learn it it opens up an entire world of possibilities
Docker desktop is available for Windows, Mac, and Linux, even though Docker containers run on Linux desktop is the graphical user interface that will allow us to talk to these containers. If we think of the docker engine as the thing that is actually creating the box of stuff, the docker desktop is a way that we can take photos of our images so that we can actually see and work with them rather than not being able to use them at all. We can also use Docker desktop to do things like change the containers the boxes around change how we do the storage for the boxes and also work with other tools like kubernetes within these containers. It's important to note here, on Linux Docker Desktop is not needed, you can just run the engine if you want to.
How to install Docker on Ubuntu
To do this you'll login to your Linux server, either on the computer itself, or using SSH (Video: How to use SSH) depending on your preferences. Personally I like to use SSH for a couple reasons, one it is easier to login to multiple computers at once from my laptop rather then move around the house. Two, this gives me the ability to not use a monitor on my server and save the money from that power drain. Three, I have dogs and they prefer I sit still and not get up too much. You can see for Ubuntu there is a document already created on how to install Docker, the Docker Install Docs and get a step by step tutorial for your system. If you'd like a refresher on any of the topics listed, In my Linux course I do talk about how to do things in a general way, and I will link to the relevant module, You'll basically need to add the repository, check the dependencies, add your user to the docker group, and then test the installation.A great resource besides the documentation linked above, is here it's on the ubuntu official website and includes the step by step instructions for how to do the install, but also screenshots of each command so you can follow along easily.
What to do if you're not running Ubuntu
In general one of the first places to start is the docs, so I recommend going to the docs for Docker and trying to find the machine you're using. Let's say for example you wanted to be adventurous and try Fedora, good news! They have install instructions Just for Fedora so you can follow those. It's going to look very similar to the Ubuntu instructions, just using a different package manager.
What is Kubernetes?
Kubernetes, which is also known as k8, is an open source way of being able to automate a lot of the things that we do with containers. So if we go back to our box analogy, and we want to build lots of boxes or make small changes to these boxes or manage a lot of these boxes in a pile, we can use kubernetes to help us do that. So instead of for example me going in and building 100 boxes, I would be able to say, hey kubernetes I would like 50 boxes of this size and 50 boxes of that size, please build it for me, and then while you're at it make sure that you're keeping track of where they are and what's happening in them and I'll just check in on you later. Which is a lot easier to do than managing the boxes by yourself. Kubernetes is something that is a little bit newer so we are seeing that it addresses a lot of scalability problems, but it does have its own learning curve which is separate from docker.
Some vocab we need to know, there are some components that Kubernetes works with, Kubernetes is going to create a cluster, this is going to have nodes (which is the computer we're running kubernetes on), a control plane (which is how we are managing our boxes), and pods (which we can think of like a wrapper around our box). There is ALOT more happening of course, and I encourage you to read their very thorough docs on their components and how it works for a more in depth explanation.
And if you want help learning the concepts of what Kubernetes is, you can read The Illustrated Children's Guide to Kubernetes and read about phippy! It's fun for the whole family.
How is this different then Docker?
If we think of Docker as a way to create and build boxes and make changes to the boxes, we can think of kubernetes as a little magic robot that builds and manages the boxes for us, using given recipes instead of us having to build them ourselves.

How to install Kubernetes on Ubuntu
There is a new project called Microk8s that is my recommendation for how you should install Kubernetes. I have gone through the other installation options and they are much more difficult then this. Install should take less then 20 minutes. There are 6 steps to do the install and there are plug-ins for most things that were difficult to setup previously. There is an entire set of tutorials for setup and how to use.
How to install Kubernetes on other Linux flavours?
Use Microk8s! There are instructions for installing Microk8s through snap here and as long as your machine runs snap, you're set. Install should take less then 20 minutes.
What is kubectl?
Kubectl is a tool that Kubernetes uses to be able to communicate with the cluster. So if Kubernetes is the one holding the stack of boxes, kubectl allows us to interact with those boxes, not take them, not manage them, but move them around, add more, throw some away, and work with what's inside the boxes. You'll also want to make sure you Install kubectl on your computer. Kubernetes goes on the Server, kubectl will go on any machine you want to use to talk to the server running Kubernetes.
How to install Kubectl on a Linux Machine
Option 1: Command Line
There are a couple options on how we can go about this install. The documentation on a command line install kubectl on a Linux Machine. To do an install at the command prompt, we need to first make sure cURL is installed, you can check if you have cURL by trying
curl -LO "https://dl.k8s.io/release/$(curl -L -s https://dl.k8s.io/release/stable.txt)/bin/linux/amd64/kubectl"If you get an error or nothing happens, you first need to install cURL, if you have apt you can install cURL by saying
sudo apt-get install curlNext we'll do the install by running
sudo install -o root -g root -m 0755 kubectl /usr/local/bin/kubectl
Option 2: Snap Store on Ubuntu
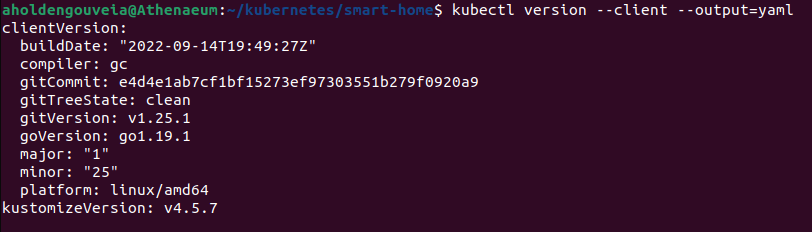
We can actually use something called "snap" to do the install. So if we go to Kubectl on the Snap Store there is actually a button that says "install", you should be able to click that button on your Ubuntu version and it will install. However, it is important to note, this needs a browser and a Graphical User Interface (GUI) so if you don't have that you must do the command line install from above.Which ever one you pick after you're done make sure kubectl installed properly by doing
kubectl version --client --output=yaml
NOTE: If you are installing both Kuburnetes and kubectl at the same time this shouldn't be an issue, BUT your version of kubectl MUST be close to your version of the Kuburnetes server you're interacting with. So if you're running Kubernetes 1.4 then you need to be running at kubectl 1.3, 1.4 or 1.5 to stay within that version range or you won't be able to interact with the server properly.
But what if you don't run Linux on your regular computer? That's ok! Kubectl is available for Windows and Mac as well, Kubectl instructions for Windows, or MacOS machines. And you'll use kubectl the same way by pulling up your PowerShell or terminal.
How to use kubectl
Kubectl will be used on any computer that can talk to your server that is running Kubernetes. Think of it like a walkie-talkie to your magic robot. We can check our walkie-talkie is working by doing
kubectl cluster-infoand if you see a result like the following you're set, if you don't you'll need to run a script to do your setup following these instructions

NOTE: Sometimes you'll see that people have created an alias (rename on their computer) for kubectl, it's common to see people using k instead of kubectl on demos, they are the same, you can create an alias if you want to.
First we need to setup a namespace. The idea behind a namespace is that we want to name the ship that is carrying our boxes so that our magic robot knows which ship to work on. A namespace can be called anything you want, for this demo we're going to use "Smart-Home" as our namespace. A YAML file (Sample Namespace YAML) like that one can tell the robot how to name our ship and give us easy reference. You can change the name in the YAML file, but make sure you stay consistent in your naming! You'll want to create a file on your computer (not server) that contains all the YAML files, name it "kubernetes" just to keep everything easy.
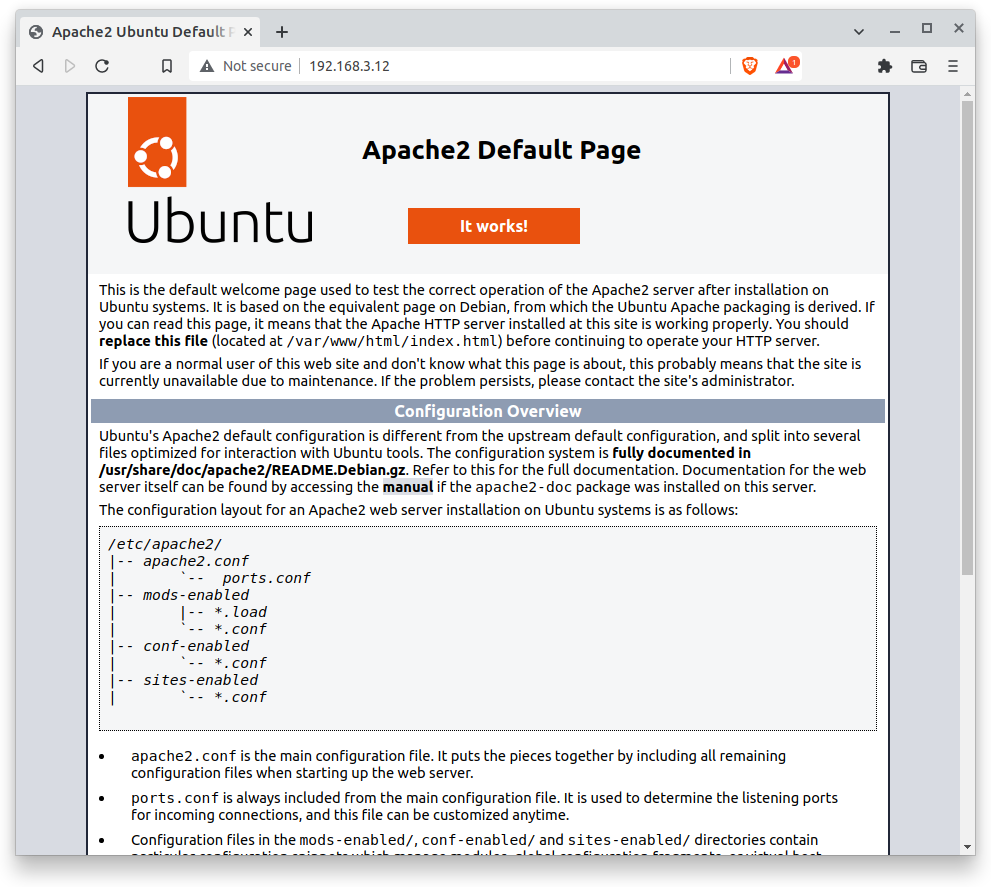
Next you'll need to create a YAML file for each box you want your robot to make for you, think of this like a recipe. A sample YAML file for a simple web server looks like this (Sample Apache Recipe YAML). You've got the first part talking about the deployment instructions (making the box), and then you have the service instructions (which is telling the box how to be balanced on our ship with the other boxes and how we will communicate over which ports).
So! Let's get started.
- First we create our folders on our system for kubernetes and then another folder inside that folder for our smarthome YAML files, and then move ourselves to that folder.
mkdir ~/kuburnetes

mkdir ~/kuburnetes/smart-home

cd ~/kuburnetes/smart-home

- Next we need to create a namespace, you can copy the file however you like to your server (Sample Namespace YAML ) One option is to use "touch" and then paste the code in to the text file using an editor like nano
touch ~/kubernetes/smart-home/namespace.yaml

- Then we create the YAML file with the recipe for our robot (Sample Recipe YAML)
touch ~/kubernetes/smart-home/samplerecipe.yaml


 The ^ symbol means control, so CTRL and X held down at the same time will trigger an exit and it will ask you to save, you can say "y" for yes on both questions to get back to the command prompt
 - Then we create the YAML file with the recipe for our robot (Sample Recipe YAML)
- Then we send the instructions to the robot to create our ship (namespace) (apply namespace YAML)
kubectl apply -f ~/kubernetes/smart-home/namespace.yaml

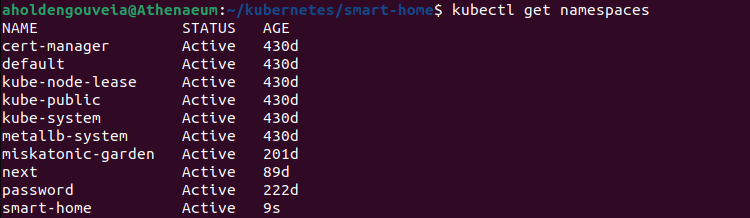
- Now we can check that worked by asking Mechi our magic robot to tell us all the ships (namespaces) they are in charge of (get namespaces) NOTE: I'm on my home server so there are lots of namespaces, look at the last one to see the good ship smart-home
kubectl get namespace
- Then we send the instructions to the robot to create our new box (apply container YAML)
kubectl apply -f ~/kubernetes/smart-home/samplerecipe.yaml

- Let's make sure the box was put together (get pods)
kubectl get pods -n smart-home

- Now let's make sure the boxes are on the ship (check service) and see that you have an IP address for your box
kubectl get services -n smart-home

- Test out talking to our newly created box! (go to the listed External-IP address in your browser)